Two squares, cut 'em out.
Sew the 10" sides together, right sides together
Look at that seam all ironed open!
It sure looks nice on the outside!
Iron the other raw edges of the 10" side 1/2" in. Pin the zipper facedown on that.
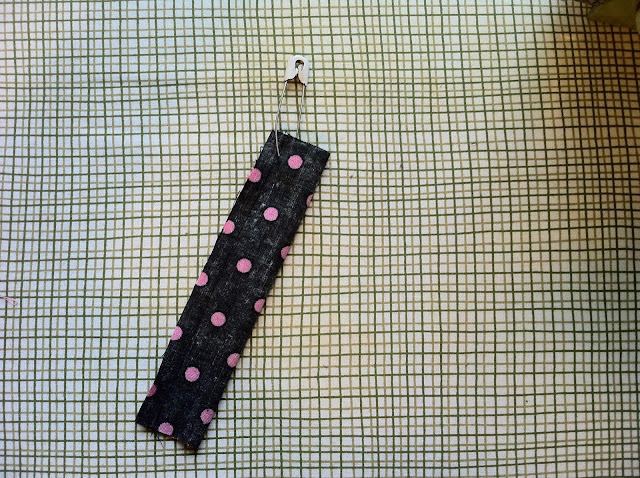
While you're procrastinating sewing the other side of the zipper, cut out a small rectangle of fabric. I think this was 2.5" by 6"
Fold in half length-wise, and then sew the raw edge.
If you're like me and have a handy-dandy diaper safety pin, use that to flip it inside-out!
And then fold it in half width-wise and press. It's a tab now!
Ok. Do the other side of the zipper now. I don't have a zipper foot on my crumby sewing machine, so this sucked. But it still worked OK. I just maybe swore a lot.
This is what it looks like right-side-out! If you look at the seam to the right (bottom of the zipper), I did sew the fabric pieces together there. My zipper wasn't long enough to reach the ends, so I had to sew it up.
Now the fun pleat part! Fold in the long edges. I think in origami this fold is called "inside reverse fold"
Here are both sides folded inwards. Oh look! Let's put that tab somewhere. I'm sneaking it underneath the top of the zipper (where I didn't finish the seam) so it will appear on the outside of the bag.
See how I've folded out the zipper so you can see? See?
And then I pinned the zipper edges back over top the tab.
Get those ends sewn. MAKE SURE THE ZIPPER IS UNDONE BEFORE YOU SEW THESE SEAMS. IF IT'S NOT, YOU WILL BE S**T OUT OF LUCK TRYING TO FLIP IT RIGHT-SIDE OUT! (I'm yelling because I know from experience.)
This is how it looks now! But the tab needs to be secured higher up to meet the top of the zipper (because my zipper was too small)
See those yucky zipper ends? I'm going to tack the tab up on top of them.
My hand is showing you where I will sew next.
Of course, I used black thread on black fabric, so you can't see the tack stitch. Just know that the tack stitch is keeping the tab pointing up.
Now it's done!


No comments:
Post a Comment